
How to perform a card reset on the Seiko QR-395
This procedure is used to manually delete or remove one single time card from your Seiko QR-395.
If you need to manually delete or remove a time card from your Seiko QR-395 time clock before the end of the current pay period, follow the procedure below.
If you need to delete or remove all the time cards, see How to perform an all cards reset on the Seiko QR-395.
If you need to manually delete or remove a time card from your Seiko QR-395 time clock before the end of the current pay period, follow the procedure below.
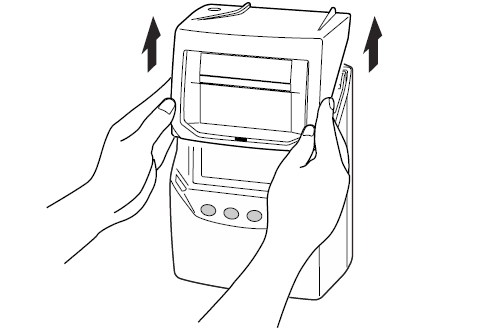
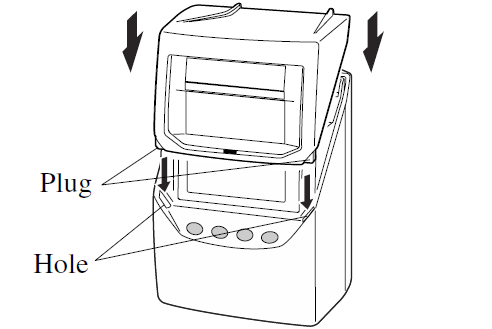
- If you haven't already done so, with power applied to the Seiko QR-395, unlock and remove the top cover. This will enter program mode.
- Press and hold the FUNCTION and CHANGE buttons together for 3-5 seconds until you hear a second beep. After the second beep, release both buttons. This will enter the card reset procedure.
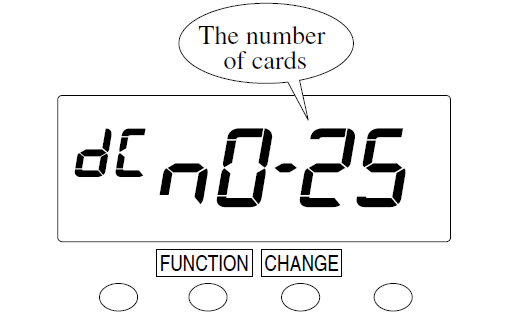
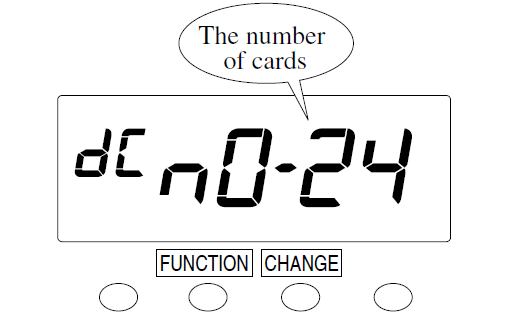
- The display will change to "dC nX-XX". Where XXX is the number of time cards currently in use.
- Press the CHANGE button as required until the nominated time card number is displayed.
When pressing the CHANGE button, the time card numbers are displayed numerically, from lowest to highest.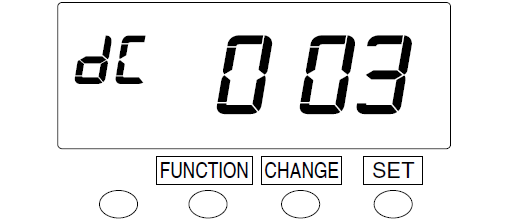
Once the nominated time card number is displayed, press the SET button to acknowledge your choice.
Press the SET button one more time to reset and delete the chosen time card number. - The display will briefly return to "dC nX-XX". Where XXX is the number of time cards currently in use. This should now be one less than previously.
- Following the completion of a card reset, the Seiko QR-395 will automatically exit program mode.
- If you don't need to alter any further settings, replace and lock the top cover.

Last updated on Friday, 15 February 2019
Related articles...
Related products...
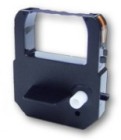
Replacement purple ribbon cartridge for the Seiko QR-350, QR-375 and QR-395 time clocks. more details...
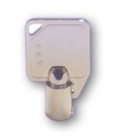
Replacement key for the Seiko QR-395 calculating time clock. more details...